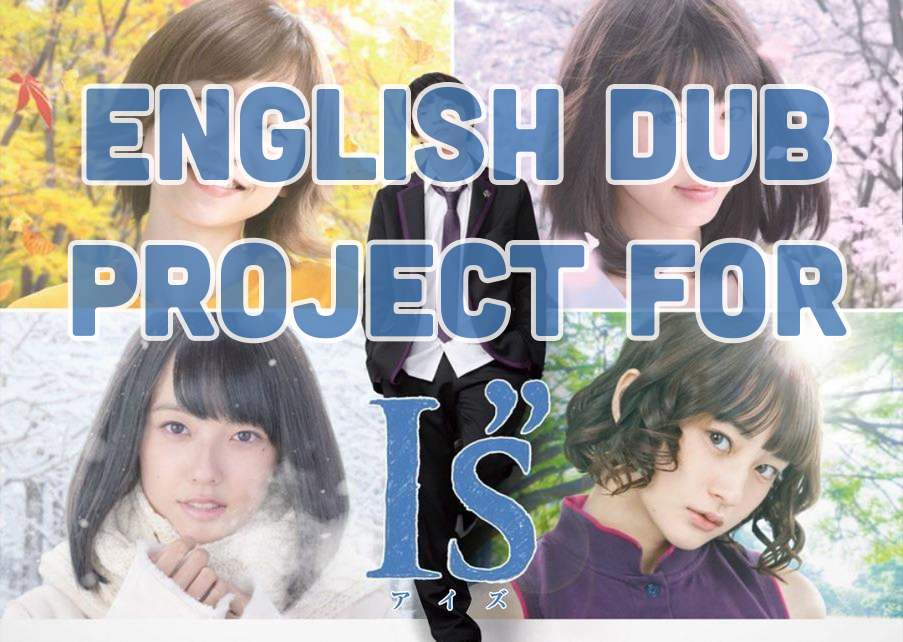
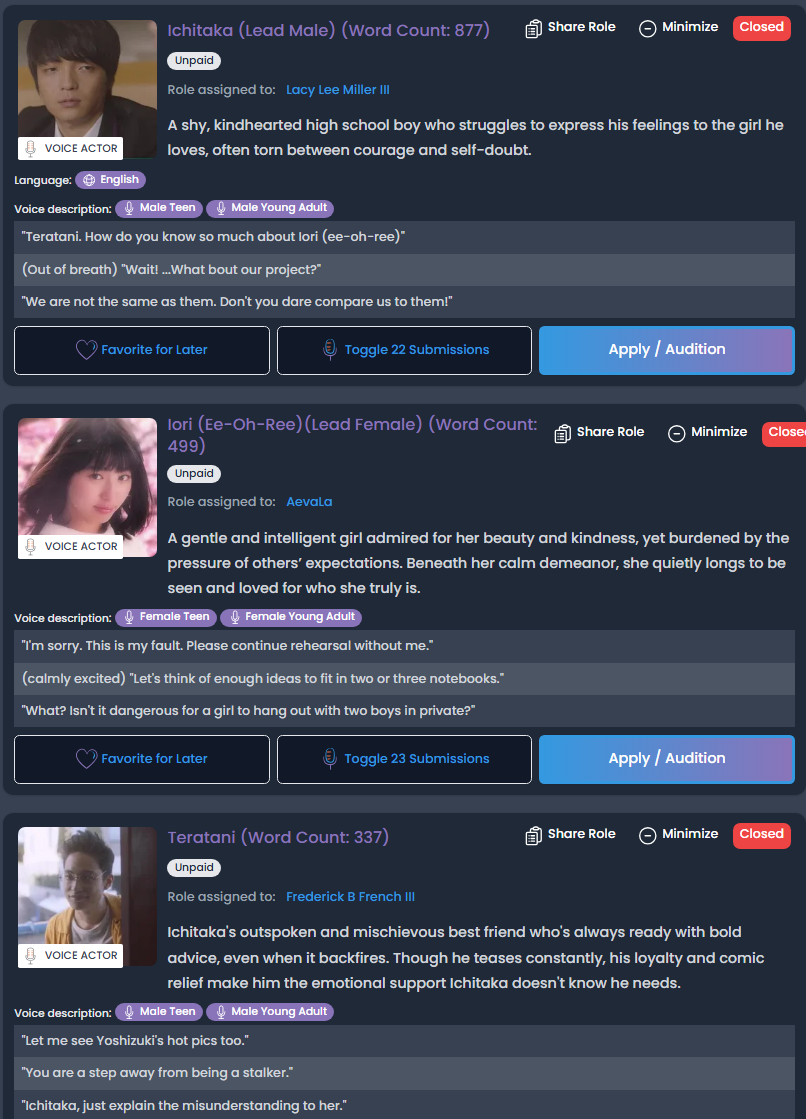
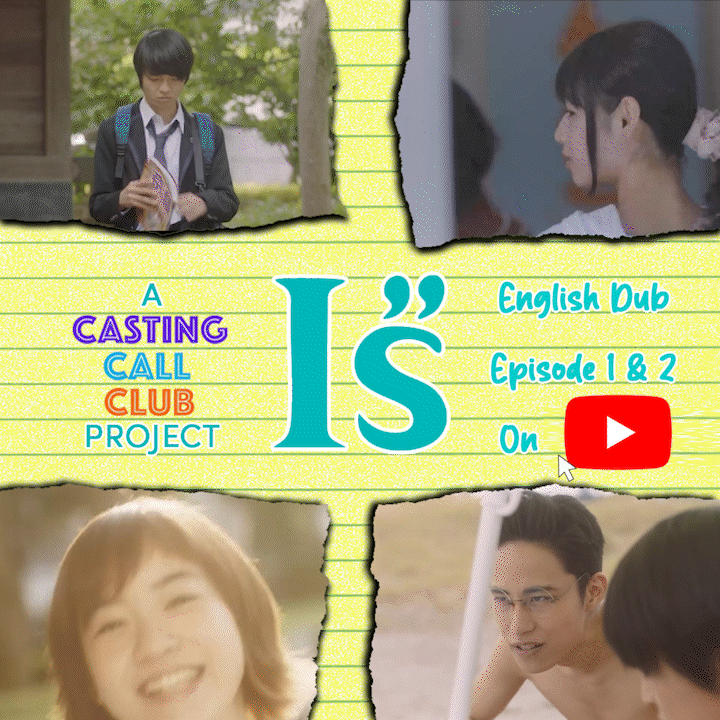
This was my main image used when trying to recruit voice actors for the roles that needed to be filled.
With over 14 roles needed for the project, I had over 100 auditions to choose from.
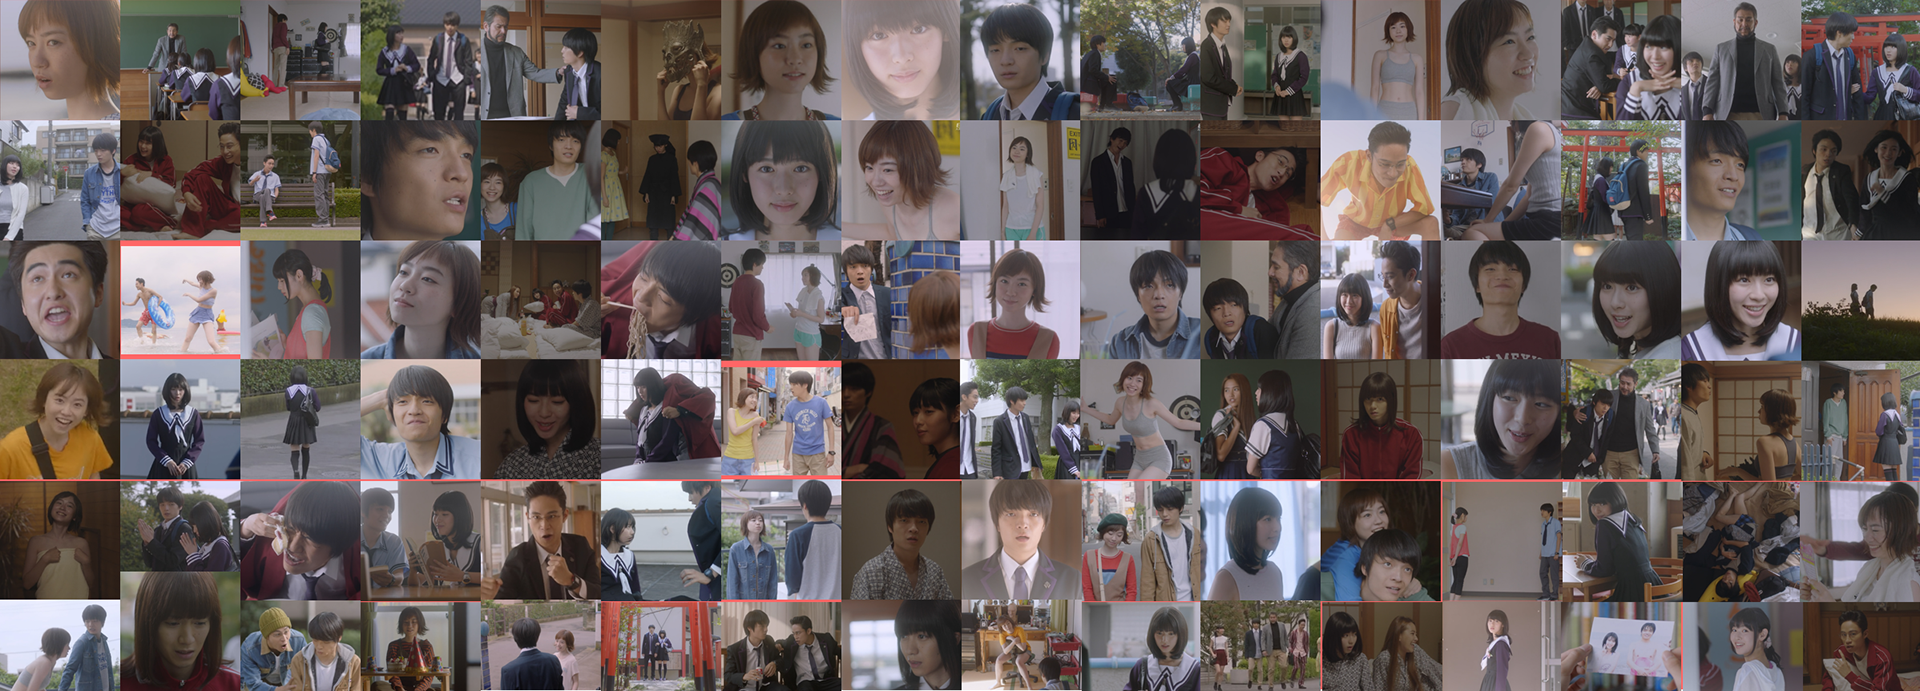
For each role, I needed to grab a screenshot of each character and pick out 3 lines I wanted to hear during the voice actors' audition.
The series is already copyrighted and trademarked by Masakazu Katsura and SkyPerfecTV, and I knew I couldn't make any commercial transactions or trades. Which was not a concern.
However, when it came to the original intro music for the show, it would get flagged during upload due to the track being listed in the USA. ("Yesterdays" by Migiwa Takezawa)
There were a few genres I could go with, pop, classical, and dubstep, but I chose more of a tropical-house style.
I obtained vocals from a studio Dropgun Samples, and needed to get the instruments and drum beats to feel like they would belong in this show.
I saw the intro was nearly 1 minute and 20 seconds long, and I was able to create a track that was that length.
But, another issue appeared... With the original audio removed from the intro, and I'm just replacing it, the cuts and transitions DO NOT match up at all. Now I have to go through the intro video and slice it up to match my music.
That was quite fun. I easily found the BPM (beats per minute) of the original track, paced it to mine, while also moving over some cue points in the video to line up with certain transitions.
"Breathe" By Jagged Jason
I wanted to make each episode its own image, rather than reuse the same background and just update the episode number.
I knew the logo and text would take up the middle of the image, so I needed a frame that could stay out of the way of the logo and text, and make them work together.
For the font, I wanted to find a font that complemented or resembled the I"s logo. Seeing how it had a handwritten/drawing feel to it, I thought that Vanilla Pancake would be a good font that had the same feel with a white stroke, just like the logo had.

A task I had to do was remove the Japanese words and replace them with the alphabet. It wasn't too difficult, but it required some creativity.
An example of the credits in Japanese
But I would go frame by frame until I found a section of the shot with no text. Screenshot as an image, and cycle through the clip until another patch of the screen is free of text, and use that image over the text.
The shot with no text would look like this.
Either of the voice cast I recruited, or put in the translated credits to show the crew with their names spelled using the alphabet.
For my voice cast, I added their logo or avatar that they chose to provide for their credit name. I put them in their own turquoise circle and made sure they lined up with each other.
The credits screen was created using Photoshop, and I saved the PNG image and imported it into Adobe Premiere, rather than loading all the images and text into Premiere individually.
Voice actors had their own roles, each role having anywhere between 44 words and 844 words.
I would have some voice actors give me multiple takes of each line.
Gathering each voice actor's audio and putting it in the project, done using Ableton Live as well.
The reason I used Ableton was that it made moving certain audio markers to where I wanted, and it could speed up or slow down the audio and make the voice match the mouth movements better.
Keep in mind, I am working on one episode at a time, and each episode is just over 50 minutes long.
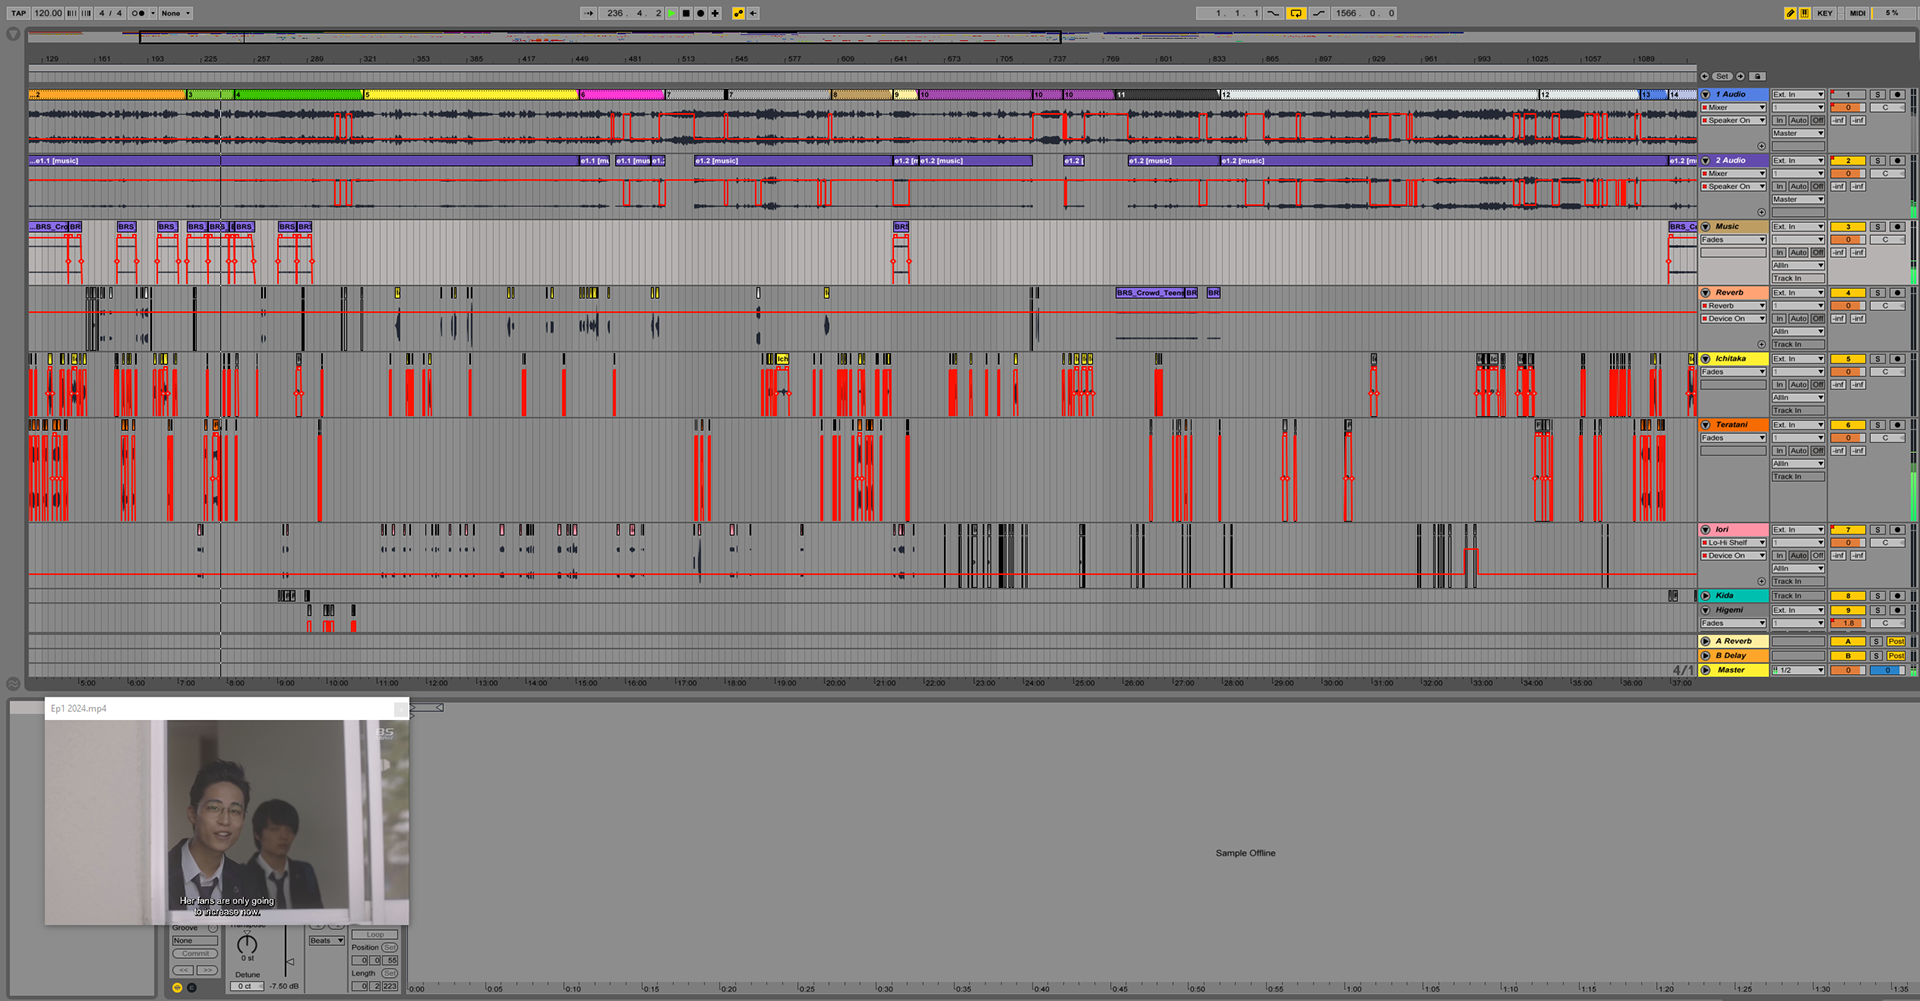
Screenshot of Episode 1's Ableton file.
- I needed to scout for replacement voice actors for a few roles that just didn't match the characters.
- Be more accountable for missing lines. (There were a few lines that had the subtitles up, but no audio)
- & Be more mindful of the audio levels. (Since there were loud parts and sections where the volume was too low)
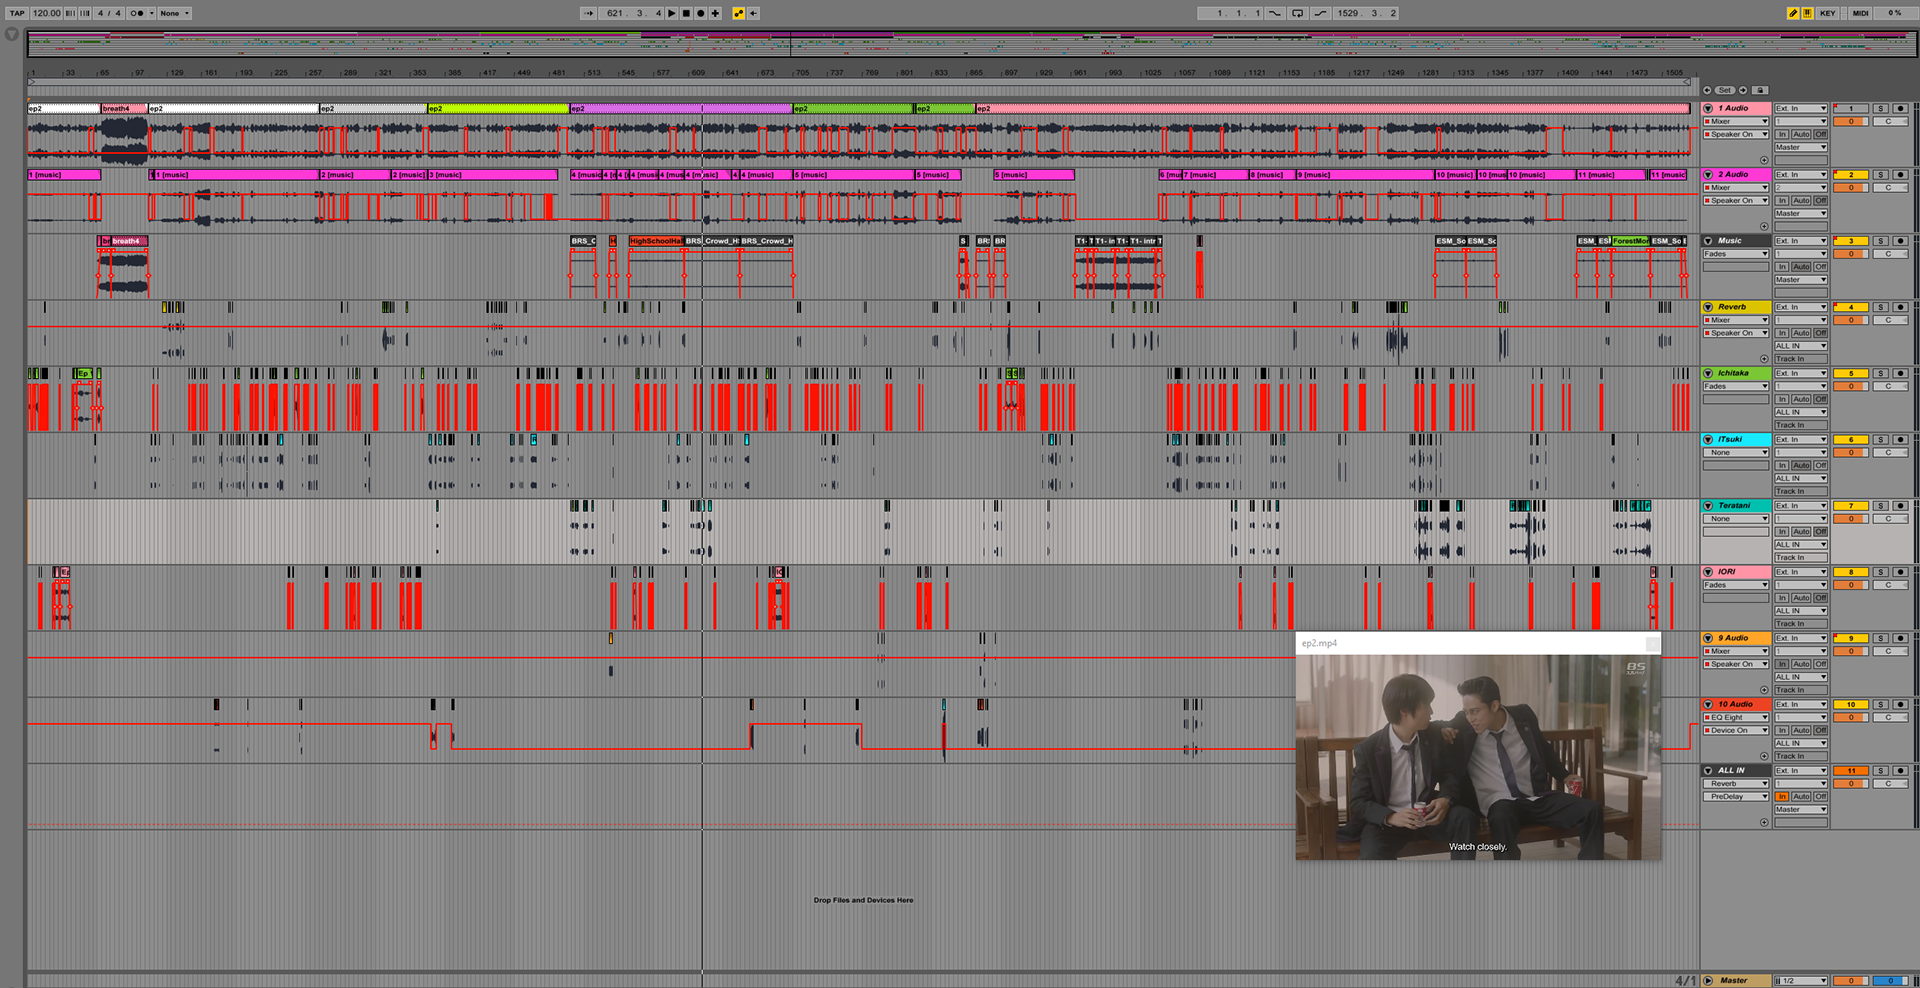
Screenshot of Episode 2's Ableton file.
The ads need to be square and either a still image or a GIF, I liked the GIF idea.
I opened up photoshop and created a few different layouts. I thought about what I"s was about and who the main characters were. Clearly the main character, Ichitaka, and his 4 love interests. So I need a square ad, with 5 sections for the 5 characters. But I also have the logo and call to action, so that made it easier, 6 spaces inside a square.
This was my first concept.
First square advertisement concept
But I kept the idea of the corners being the moving character sections, getting rid of the middle character space, and made a few variations.
This GIF has the 4 main characters that have been introduced, rather than 5 characters shown in the first concept, where 2 of them weren't seen.
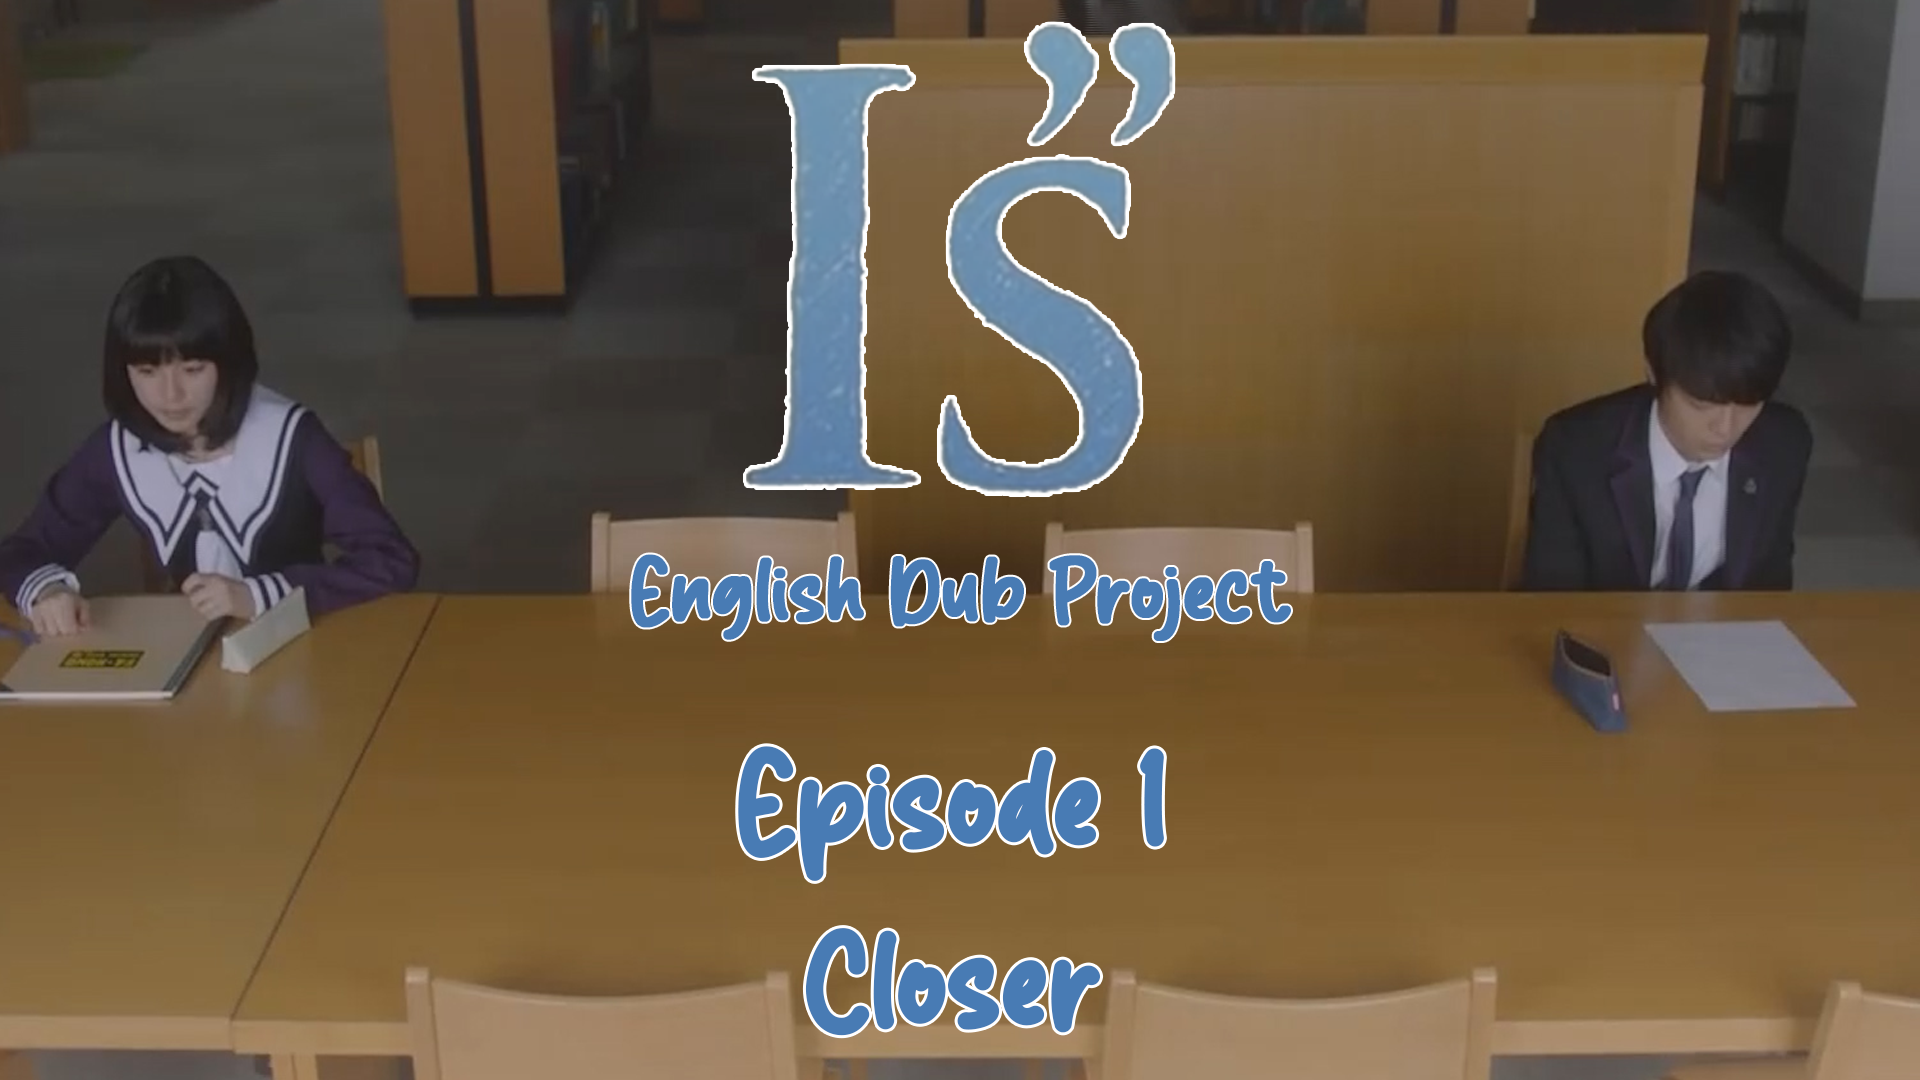
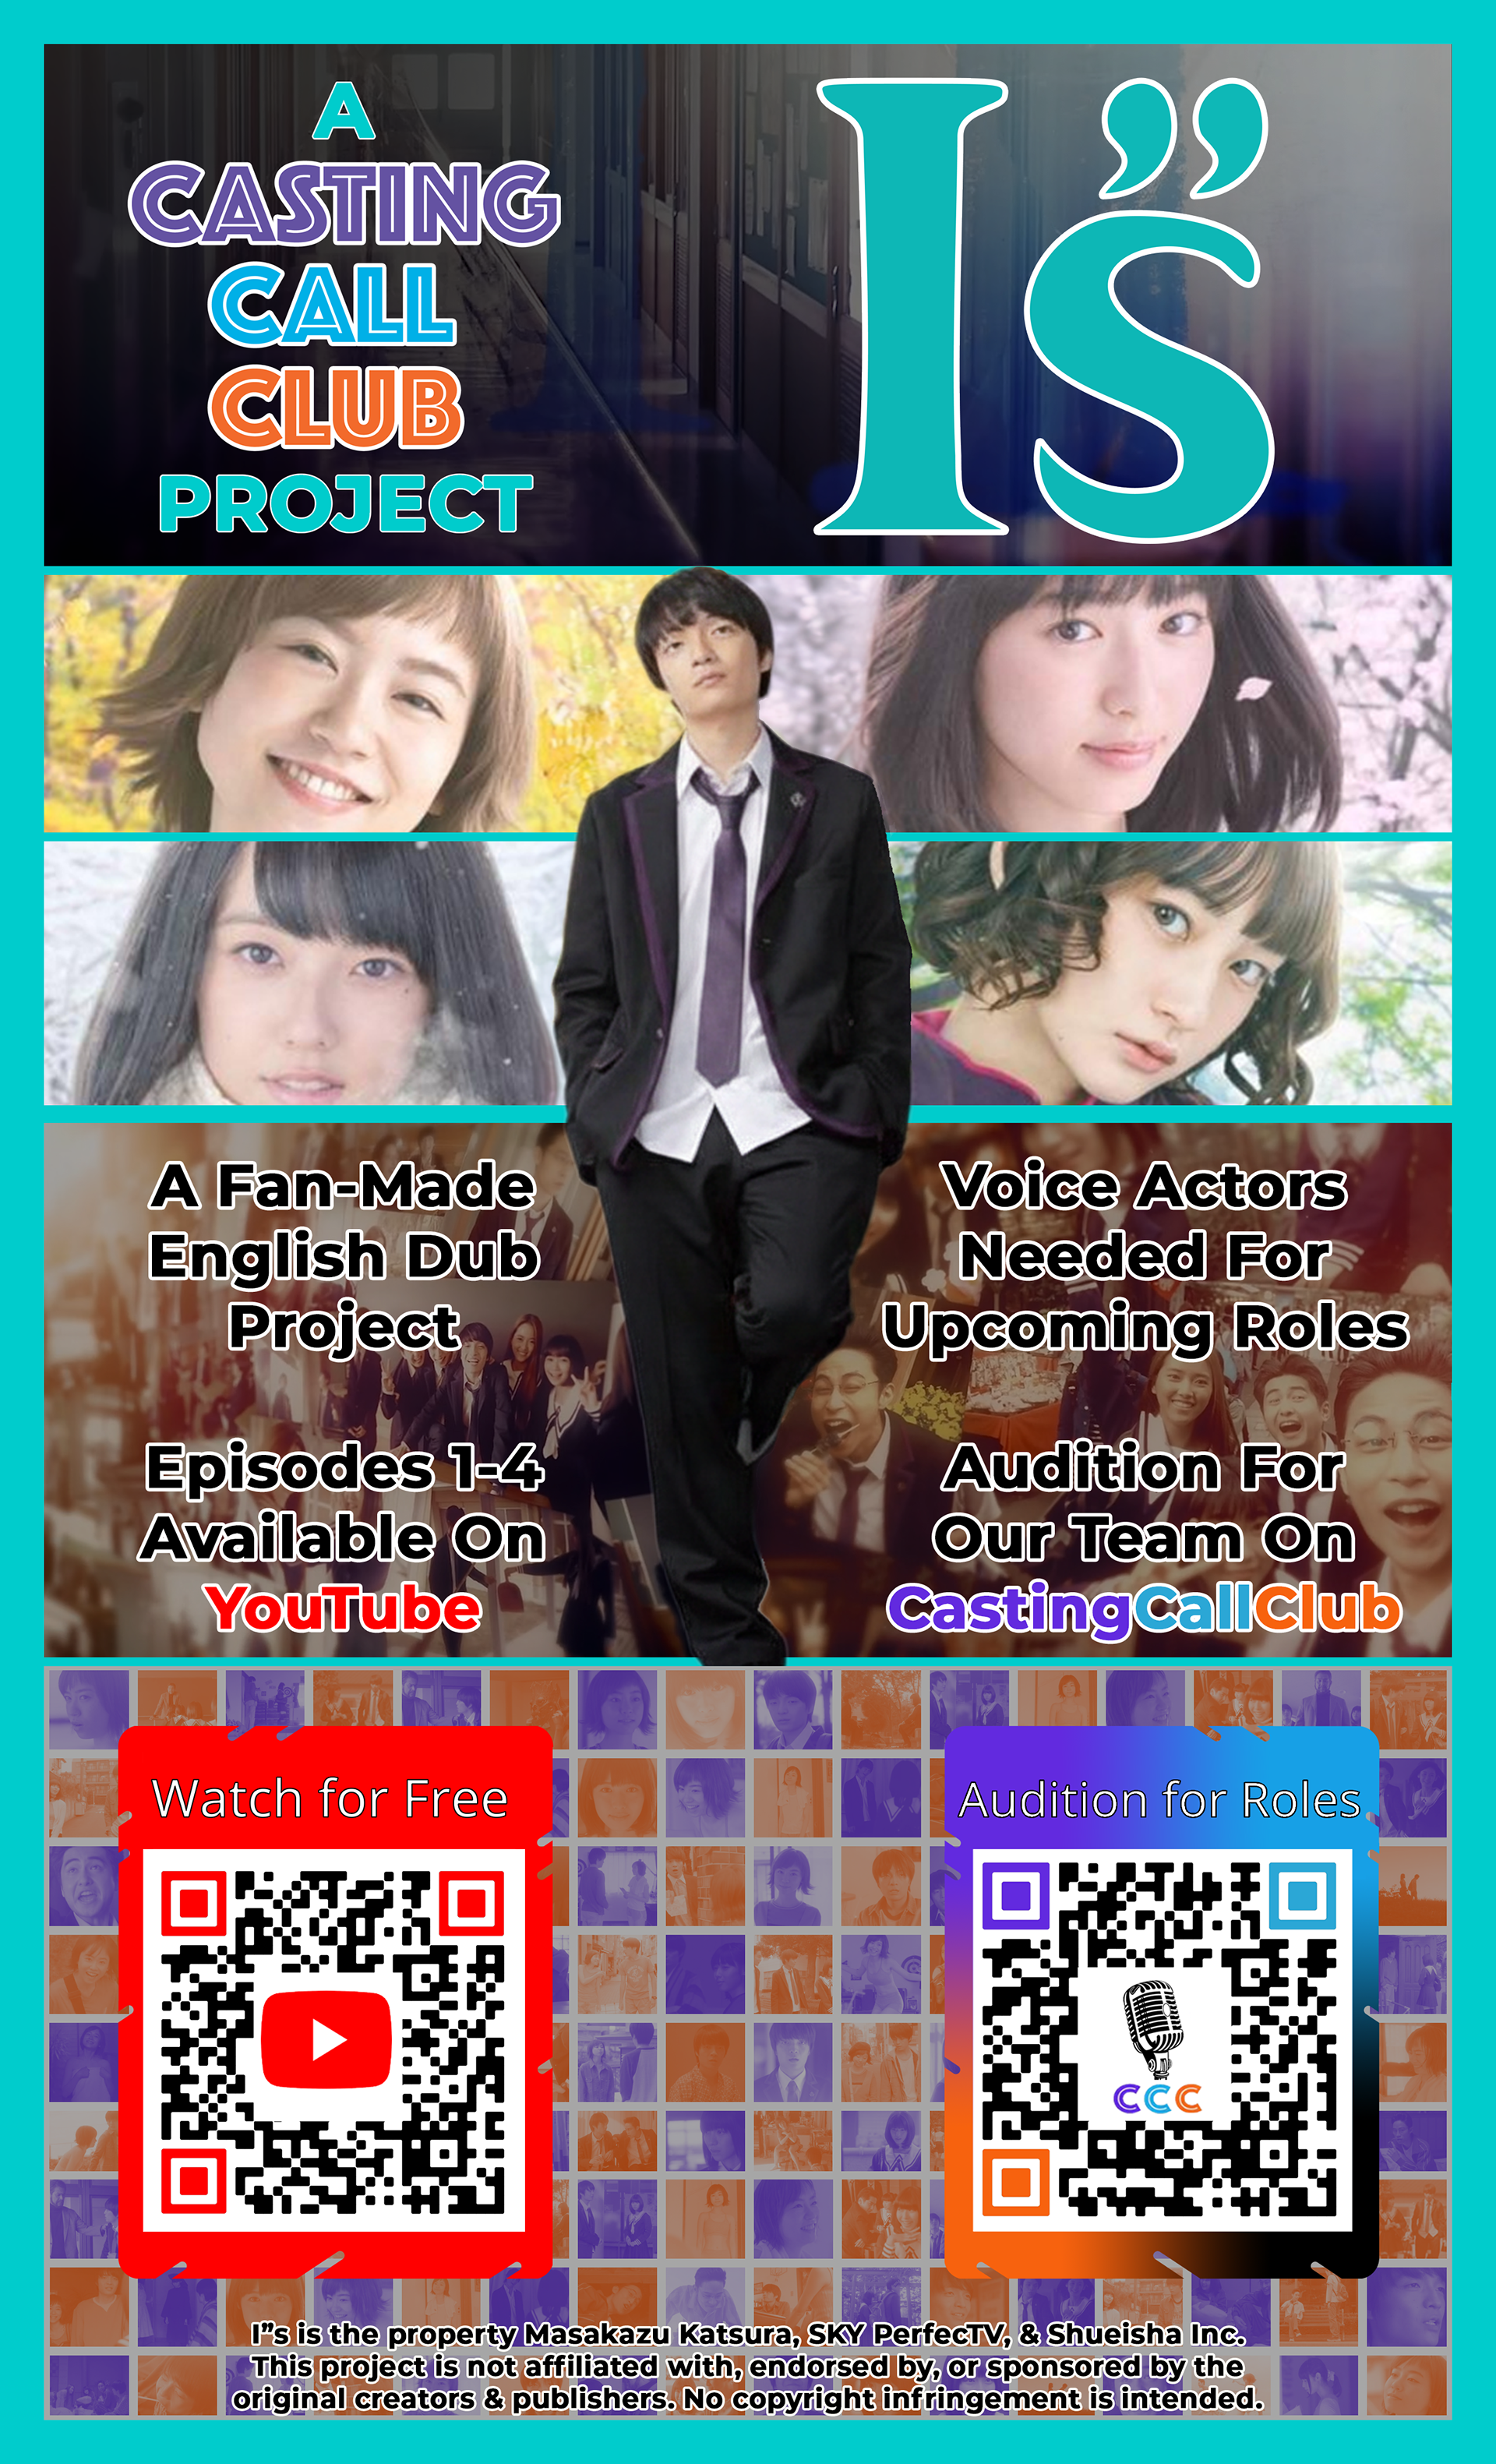
A fact about "I's" is that it started as a manga (a Japanese comic book), which then turned into a Japanese anime, and is now a Japanese live-action drama series.
So, I figured that advertising it at anime conventions would be the best thing to gain an audience. By the time I would have some episodes ready for viewing, many conventions had their schedules for movies and shows all booked. So I couldn't freely show our work in any of their viewing rooms. But one thing that these conventions allow is fellow goers hanging their own posters (mainly just pieces of printing paper) on the walls all over the public walking areas. So I decided to start creating a flyer that I could hang.
I wanted the print to be larger than typical 8x11-inch paper, something that would help stand out against the other ads on the walls. I went with the 8.5x14-inch layout, knowing the extra 3-inch height might help me convey more information.
I wanted to keep the main image (with the male and 4 female characters together) as the center focus, and thought to have a grided layout in three diffrent rows.

Using Adobe Photoshop Elements, this was my first draft.
This was my first draft of compiling 96 screenshots together. Filling in the empty spaces in between some spaces was next.
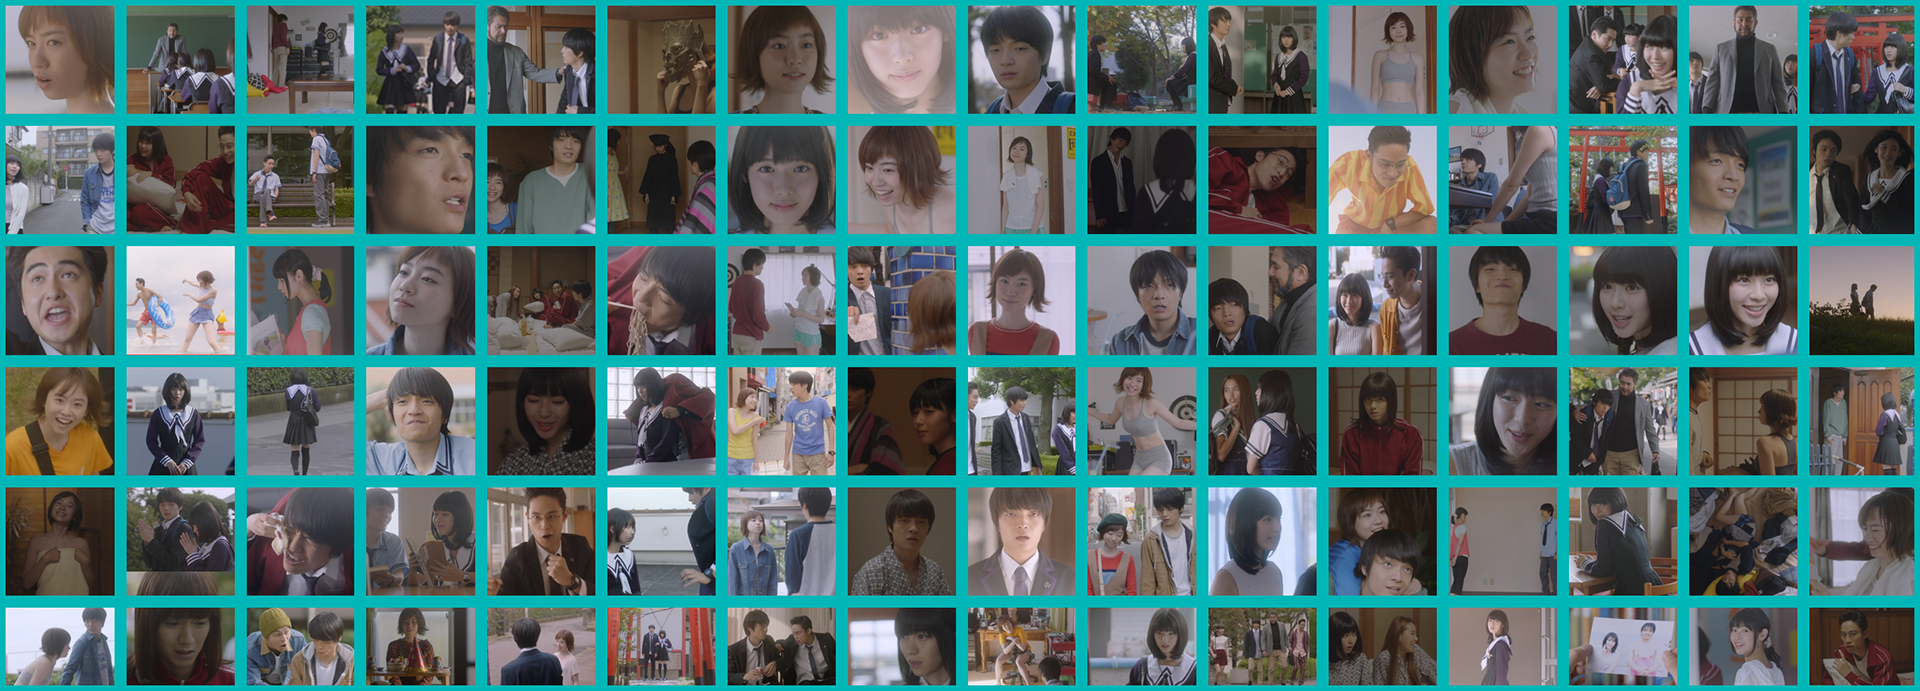
Adding a grid to the layout would be my way of keeping everything neat.
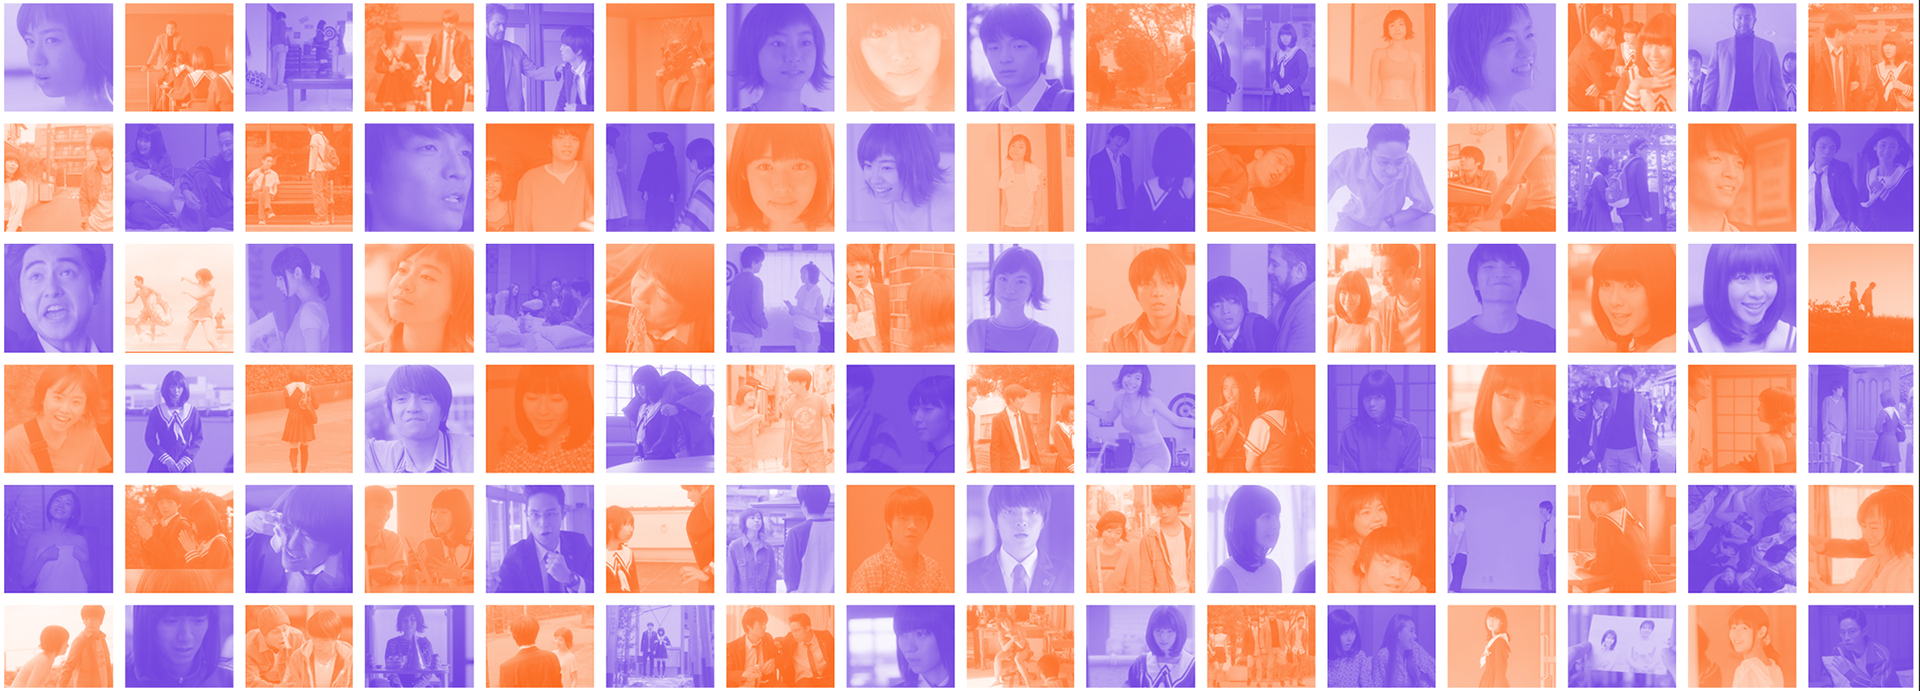
Orange and purple screenshot background
Such as the school hallway, meaning a high school teen story.
And the photo collages, showing more than the five shown characters.
First attempt at the flyer.
By having all the info on the left side, I had two different advertisements stacked on top of each other, while also having the same advertisements in the bottom row, but they were side by side.
What I would need to do is keep each side of the flyer dedicated to the call-to-action below.
I tried many different layouts and different words for the text.
Attempt 2
Attempt 4
Attmept 5

Attempt 6
Attempt 7
Attempt 9

Attempt 10
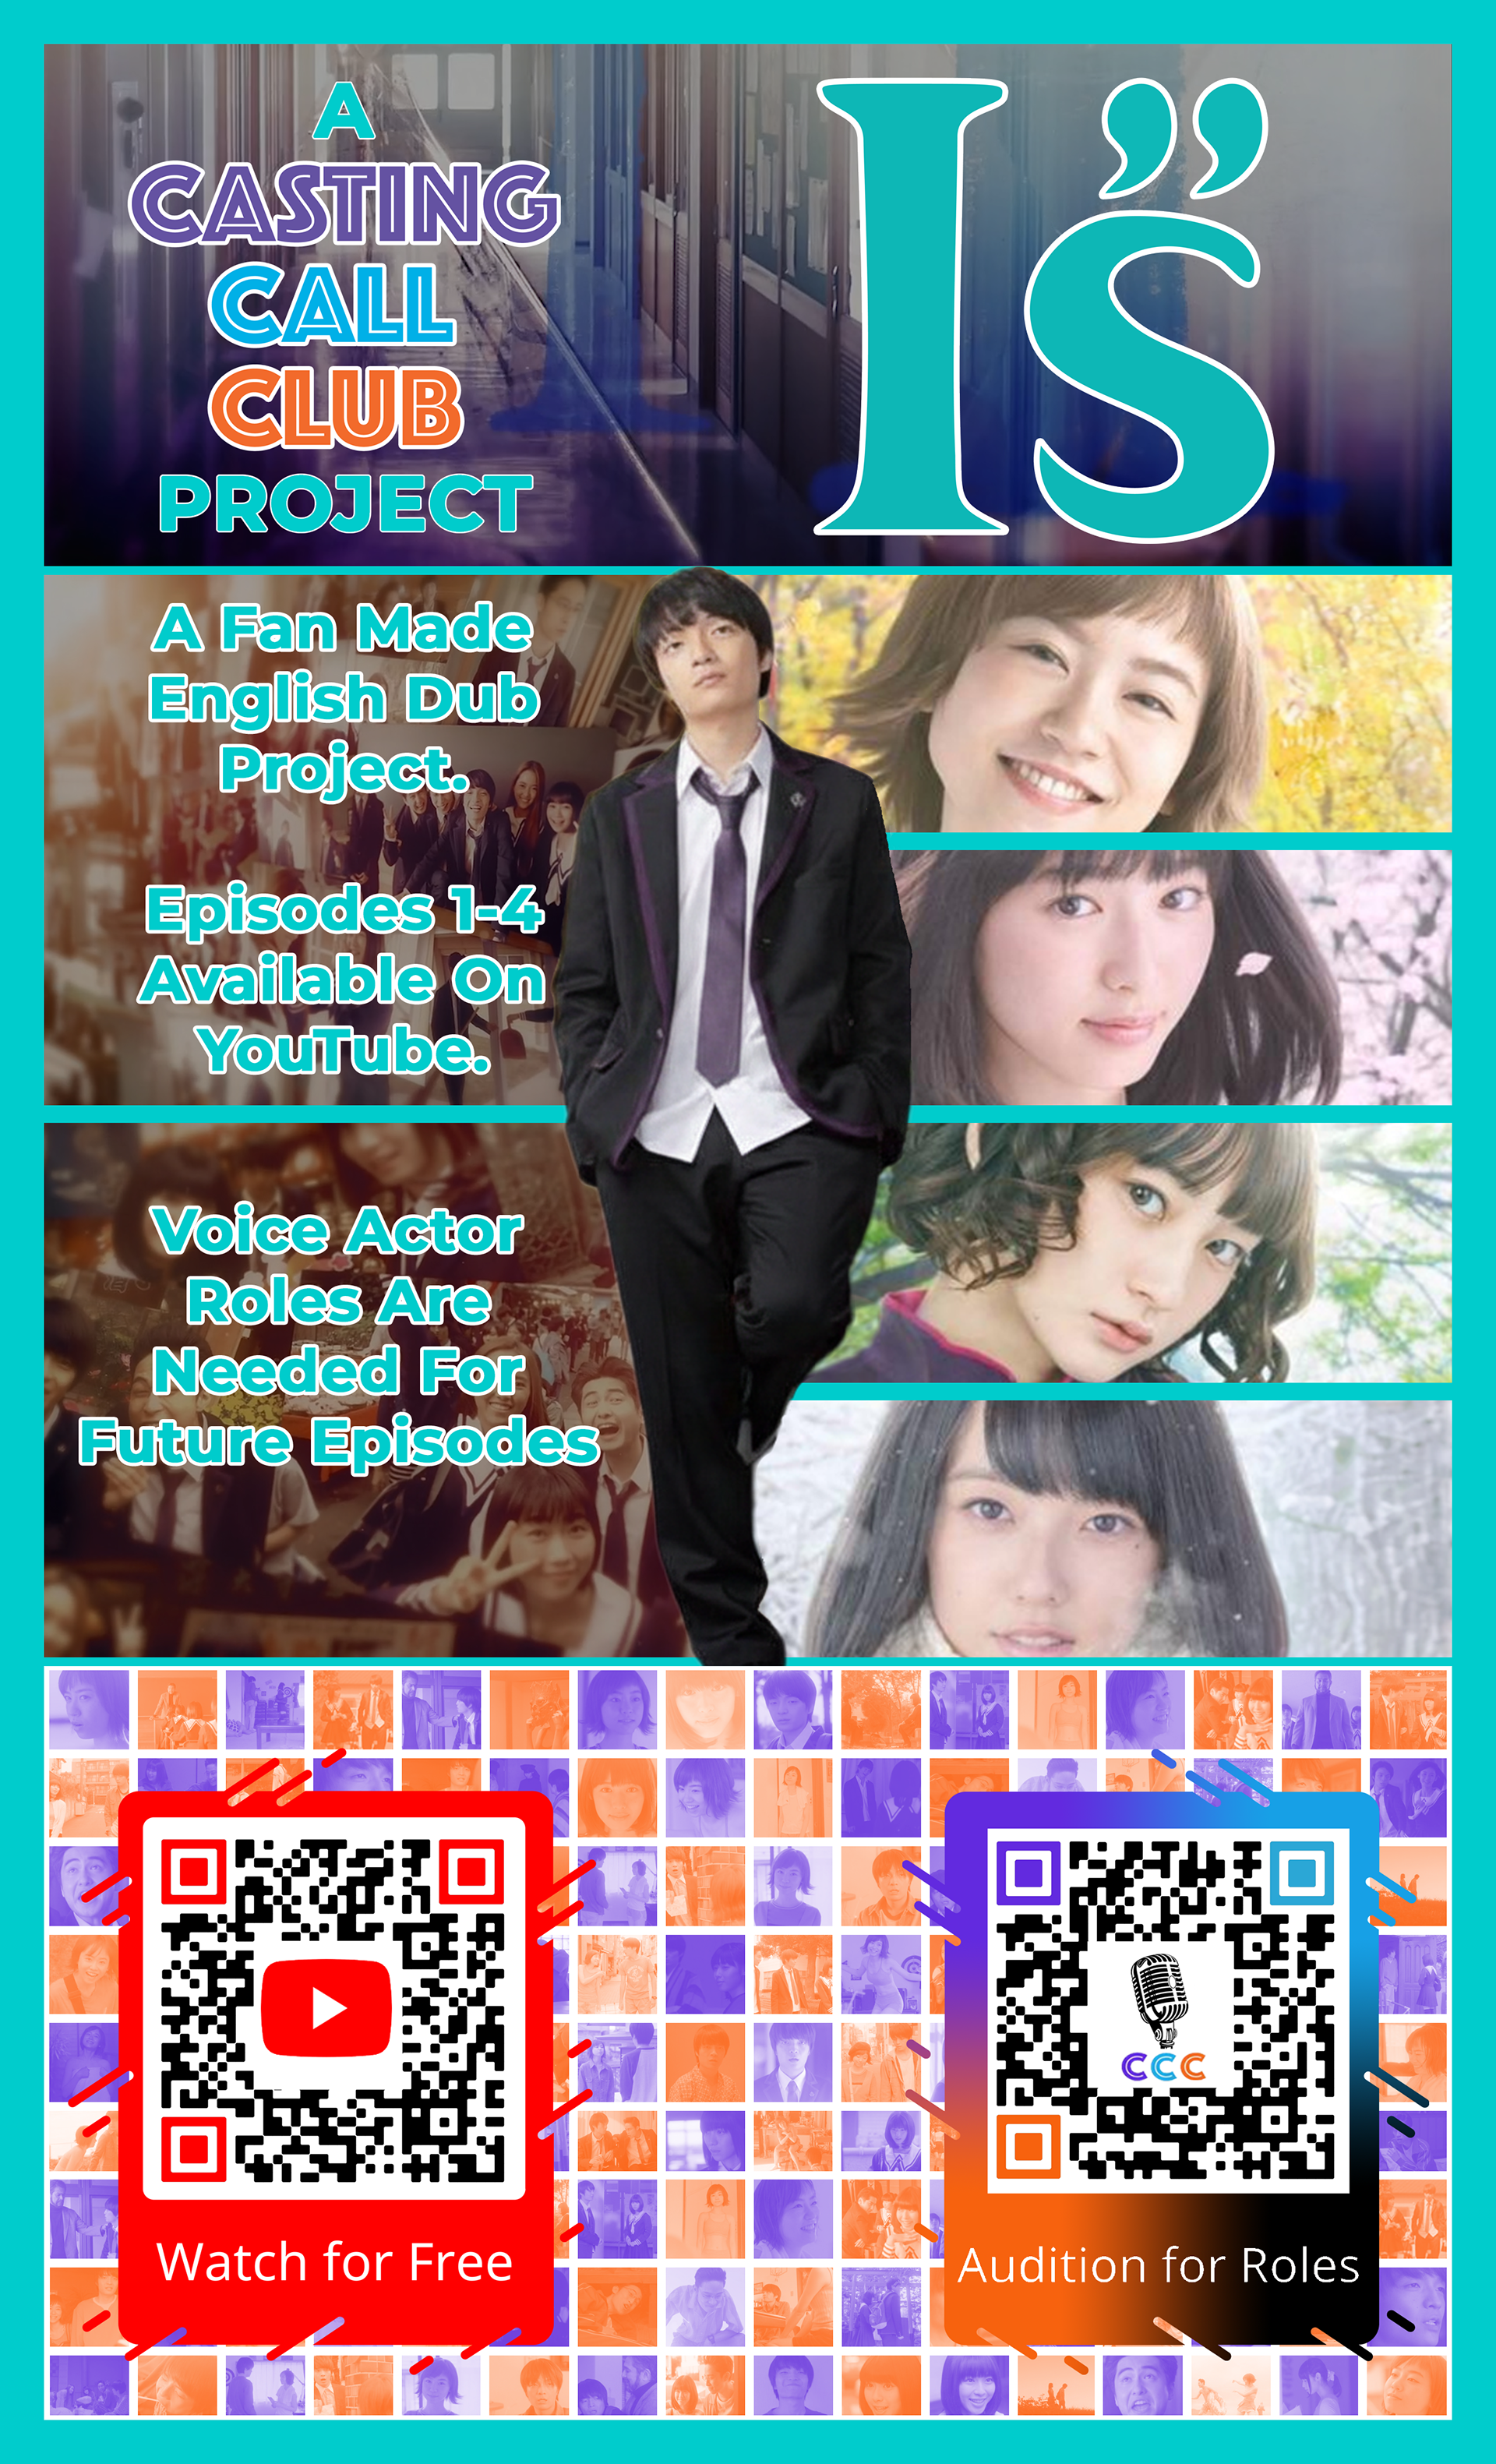
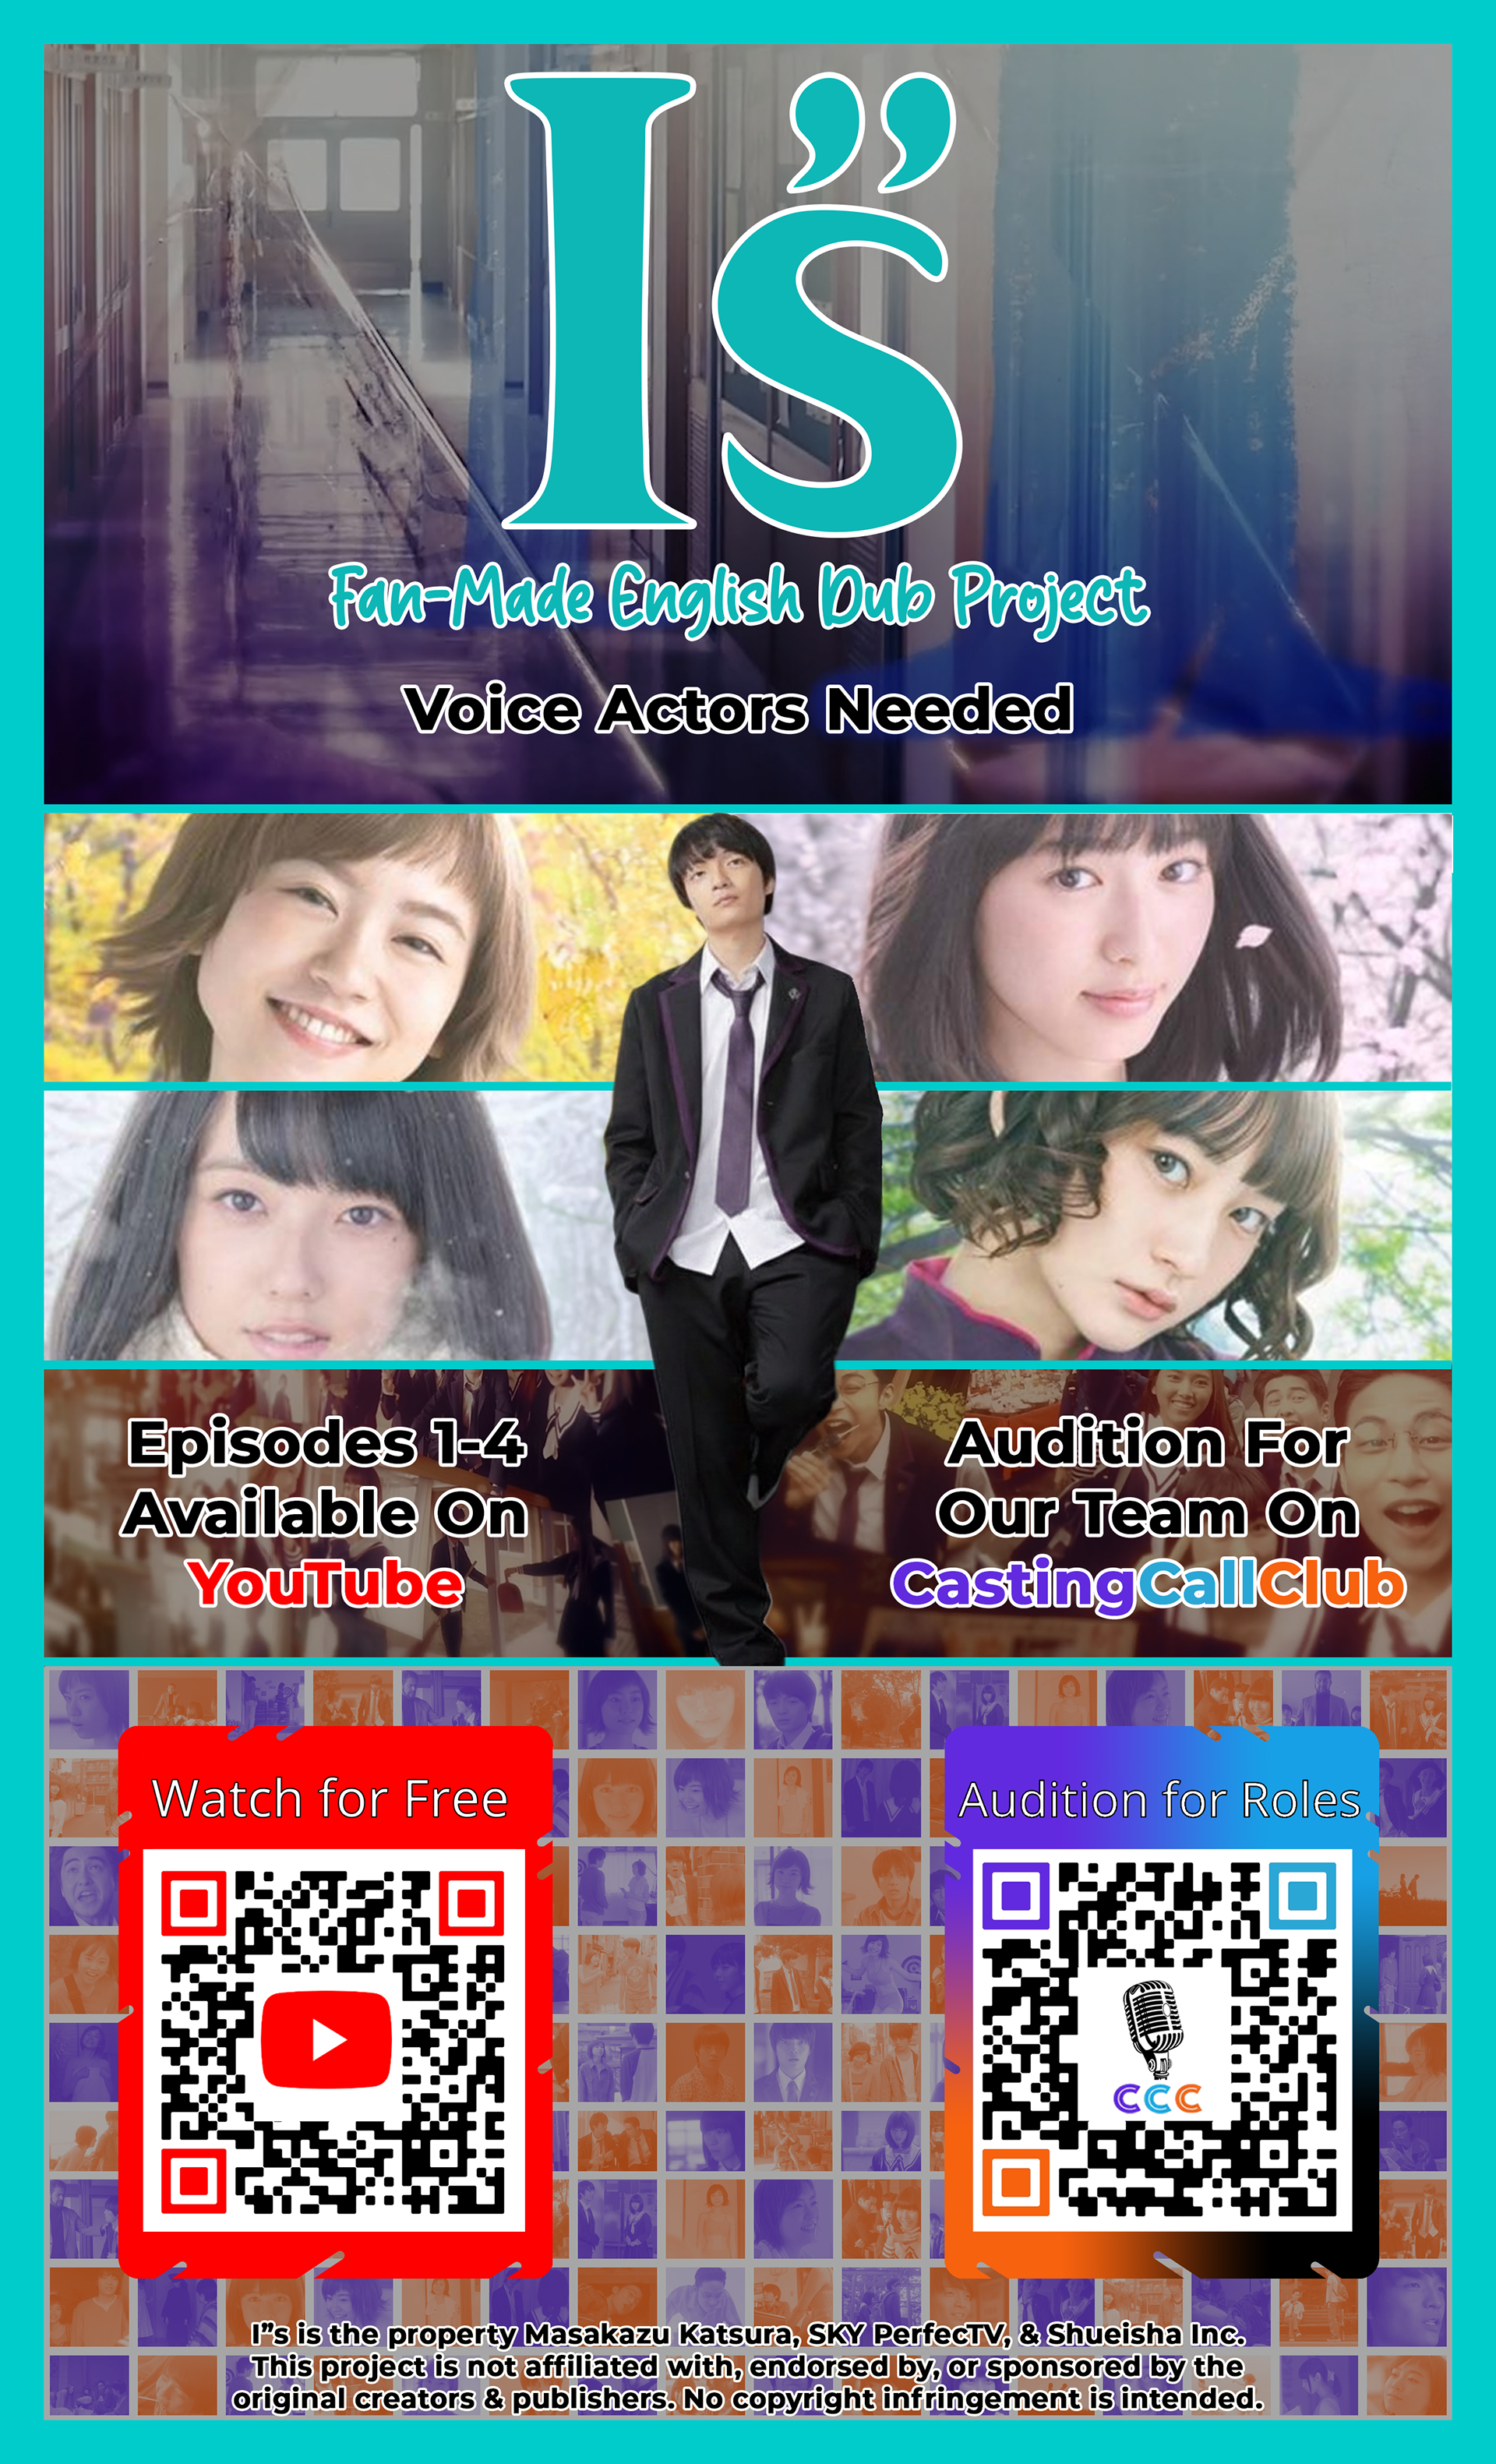
Which would bring the flyer to a state that I was happy with.
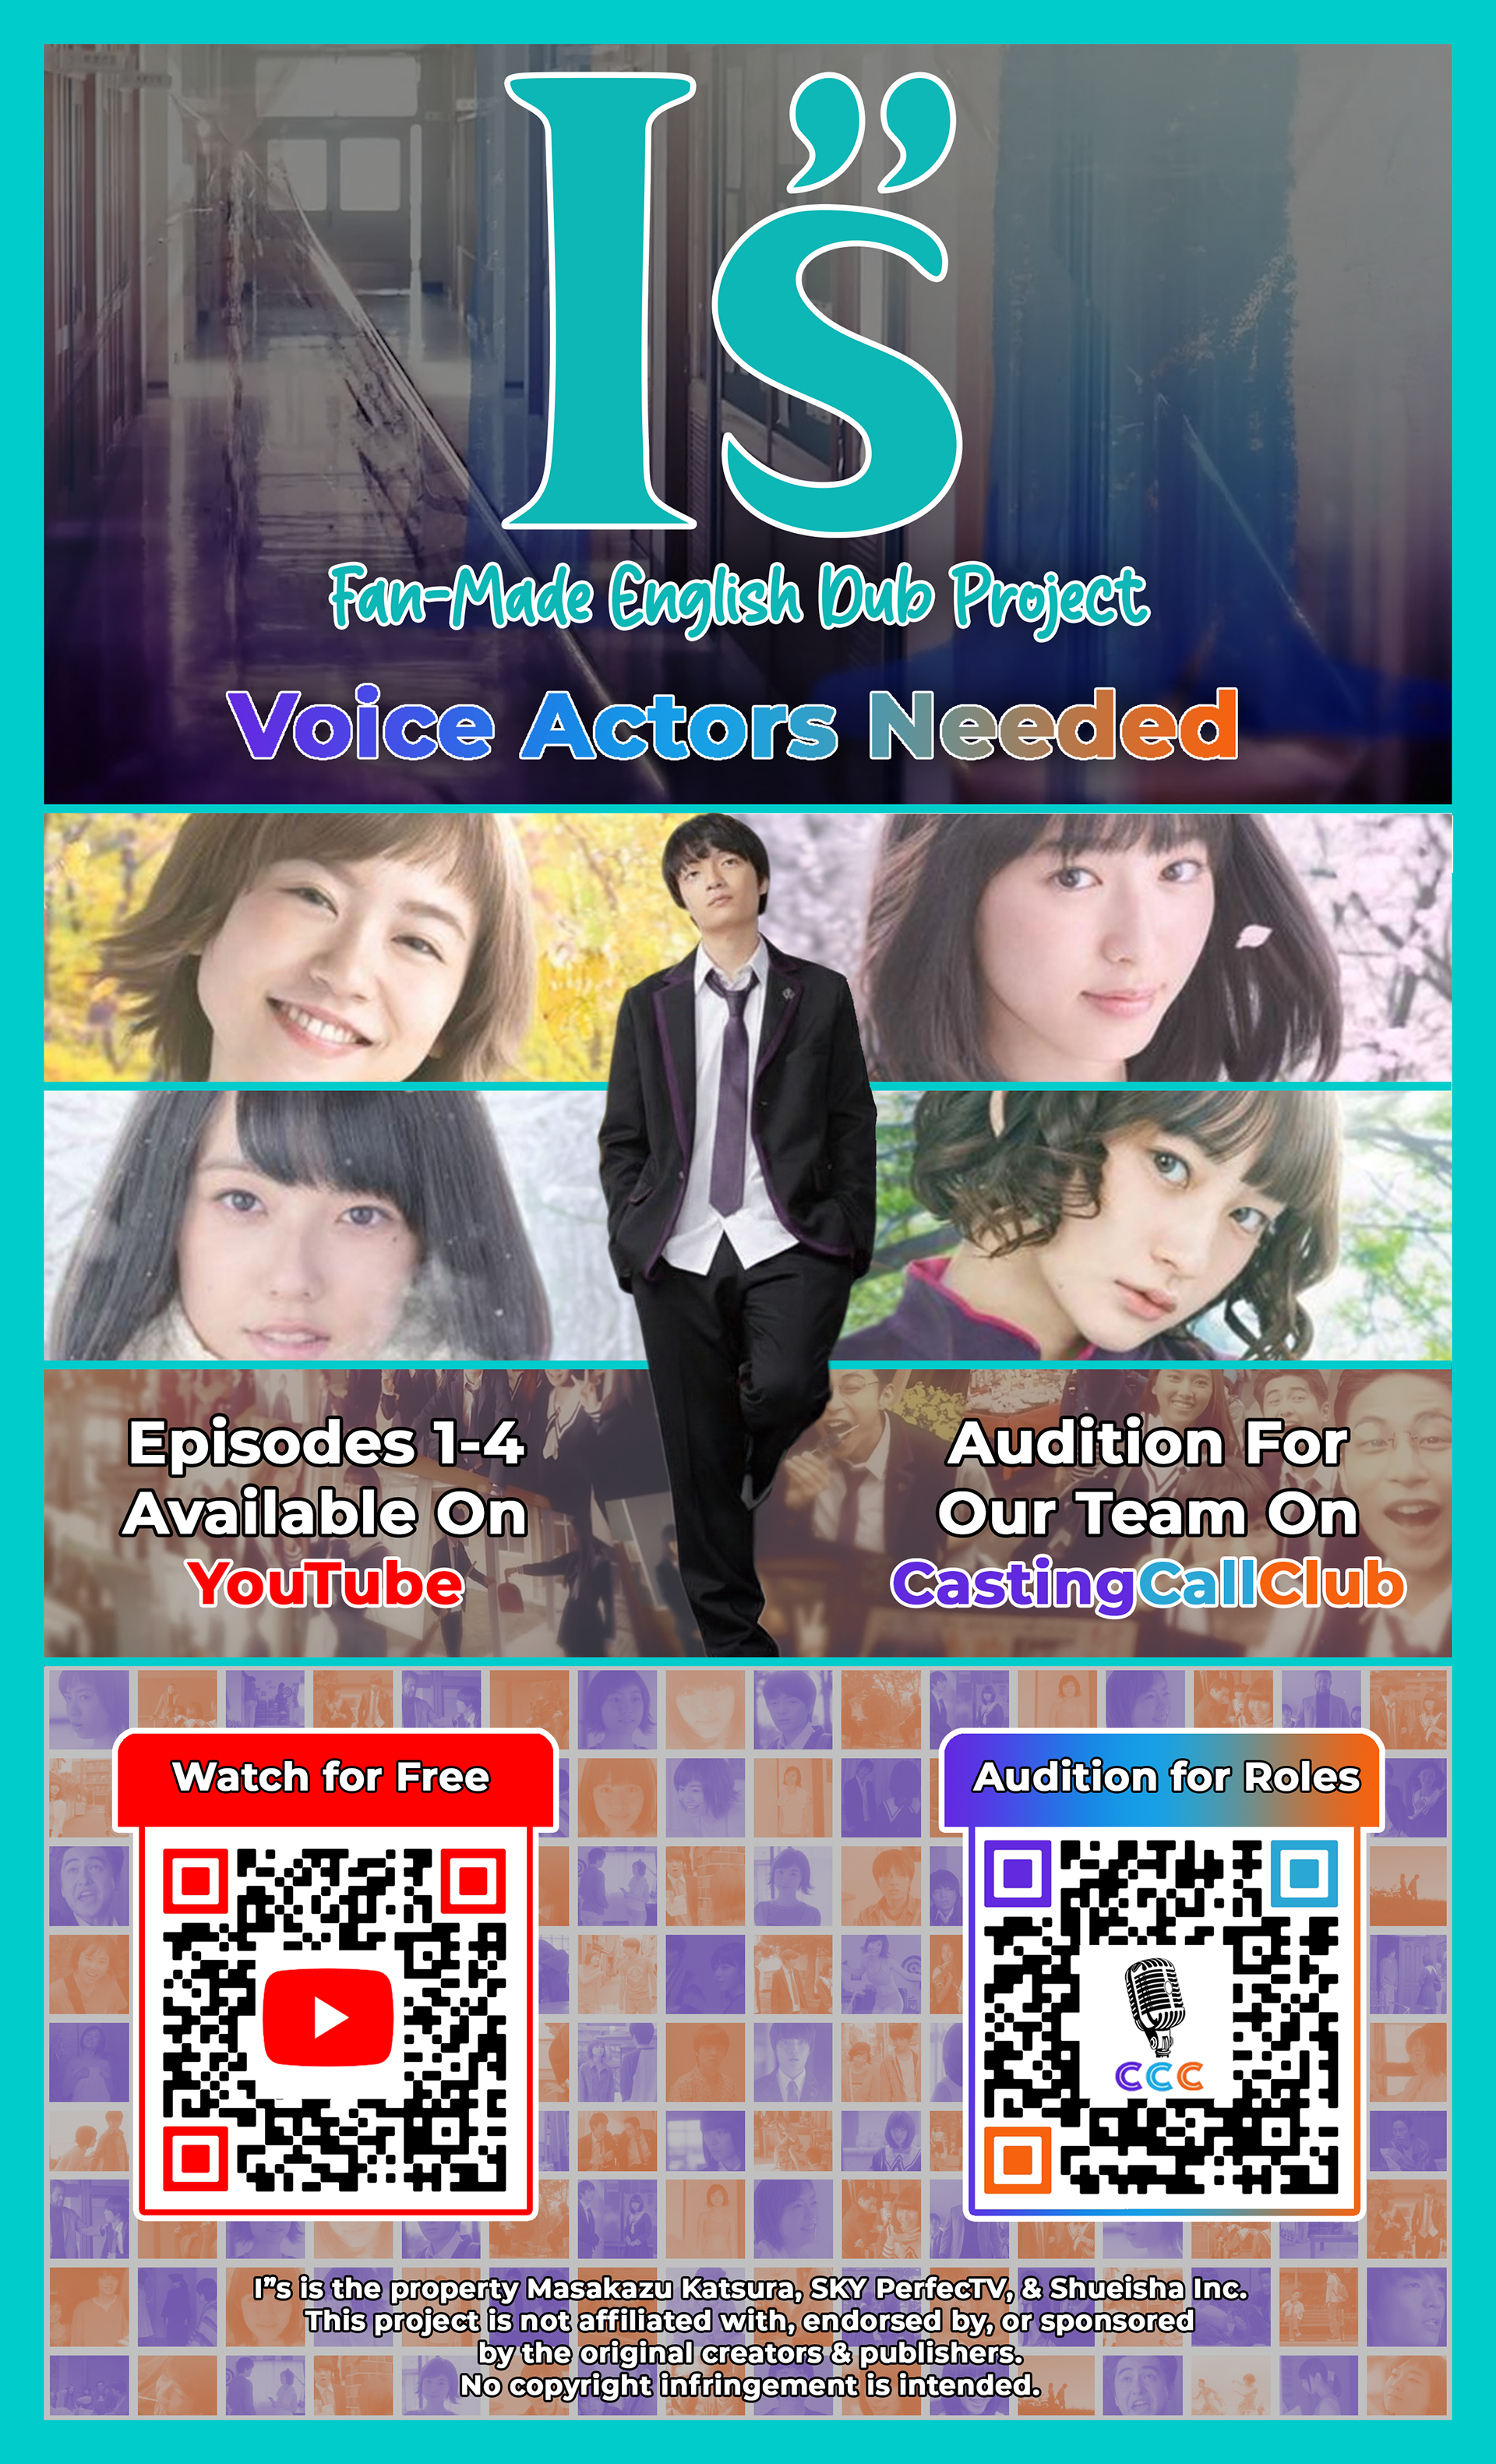
My final draft for the flyer.
As of Feb 10th. 2026.
What I am currently doing, while waiting for audio files, is preparing for future roles to get filled. There are more characters that are introduced in future episodes, so I didn't focus on filling those roles and letting the cast wait around for months until their episode was announced.
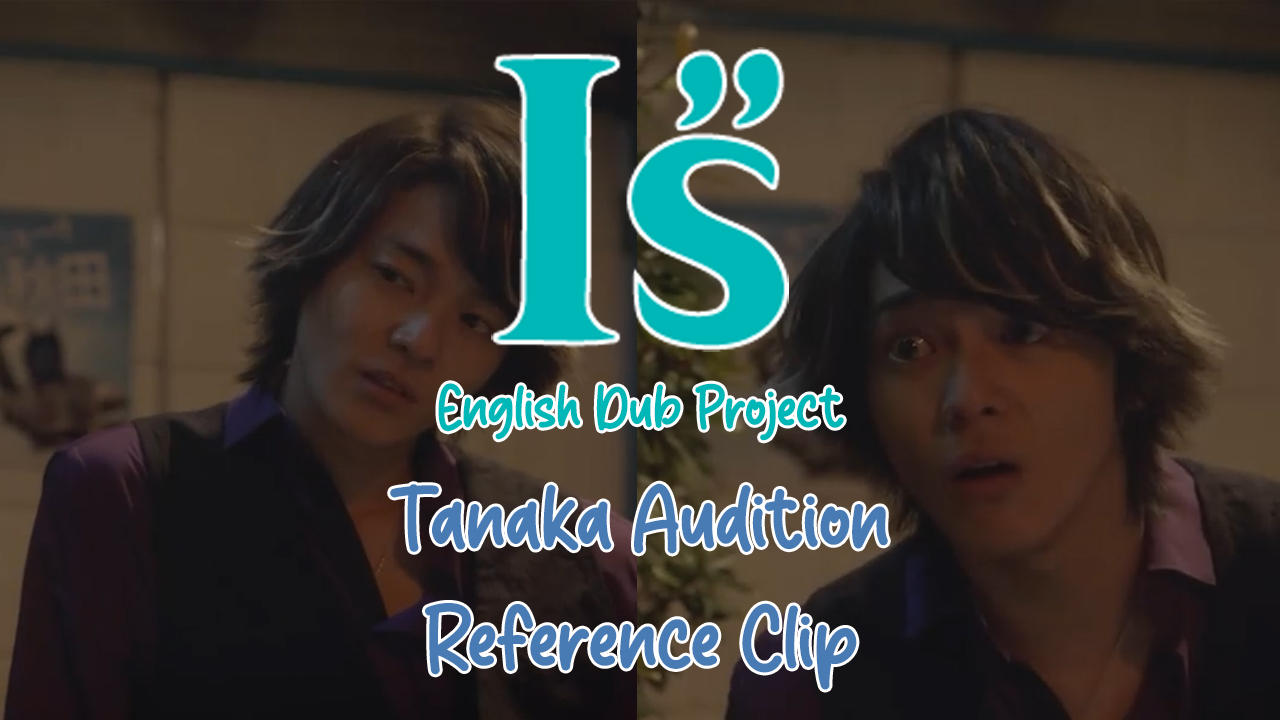
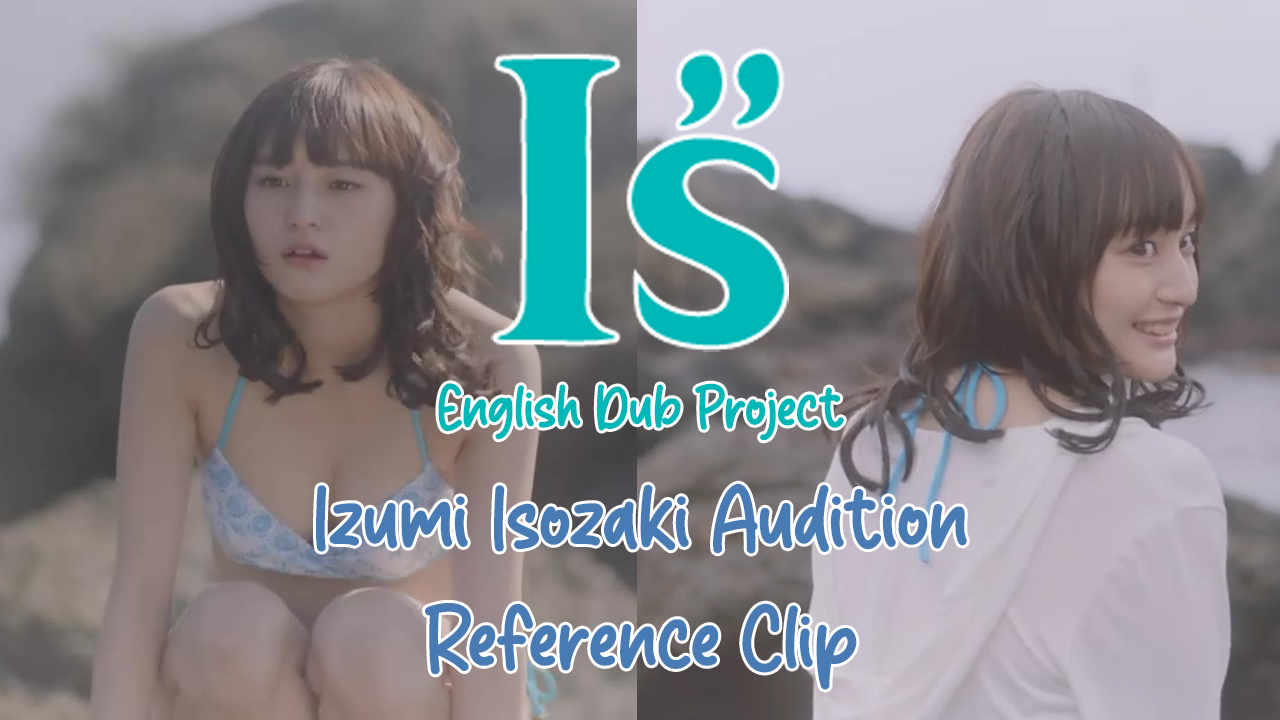
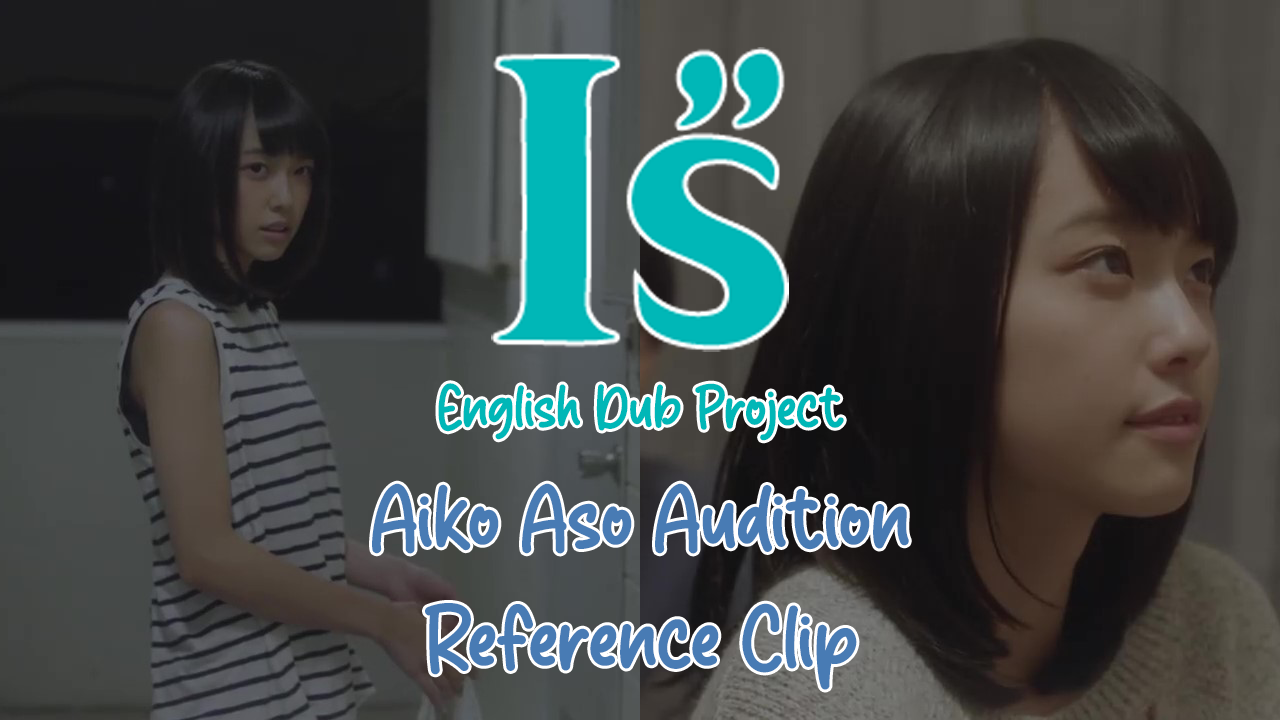
So on Casting Call Club, I created a new audition link. This link featured the 8 characters that will be introduced in upcoming episodes. But one thing I did differently was create reference clips.
I went through the episodes in Japanese and searched out lines I would want the potential VAs to audition with.
Because these clips were going to be posted on YouTube, I needed to create Icon Images. So, I created a template, made sure to use the same fonts, and image placements for each character.